
Set up Time Capsule to create a Mac backup and restore system can help you backup and restore a MacBook.
By Lucy Hattersley MAY 23, 2013 12:00 am PDT
Backing up your Mac is vitally important, yet creating a backup is something that most people don’t bother with that much.
This is a shame because Apple has gone out of its way to make creating a backup incredibly easy. And a good backup will save your bacon if (and more likely ‘when’) something goes wrong. Losing valuable files, not to mention your entire system isn’t fun, so we’re gonig to take a look at some of Apple’s options.
Mac OS X has had a built-in backup utility called Time Machine that is intended to be as easy to use as possible. Select an external or network drive via its system preferences and Time Machine will save an hourly, incremental snapshot of your Mac’s hard drive. After 24 hours it consolidates these into daily backups for the past month and into weekly backups for anything older. If your backup drive runs out of space, Time Machine will start deleting the oldest weekly backups. In this way you can literally step back in time to find deleted files.
Time Machine is integrated with many Mac OS X apps including Mail, iPhoto and GarageBand. These can recover missing files (mail messages, photos, and music tracks) from Time Machine directly inside the app. But you can also use Time Machine with the Finder to restore any file.
The flip side is that Time Machine lacks a lot of features, and you can’t really customise the backup. Aside from selecting folders to exclude, that’s about it. If your hard drive fails you will need to reinstall from the original DVD or a retail copy of Mac OS X and then restore your files from Time Machine. You can’t boot from a Time Machine drive.
Time Machine was designed by Apple to work with a spare USB drive. Setting it up couldn’t be easier. Attach a new external USB hard drive and click Use As Backup Disk in the dialog window that says “Do you want to use this as a Time Machine drive?”
The USB drive will be wiped so make sure it doesn’t contain any files you want to keep. And although you can move files to and from the attached drive using Finder, we advise you to leave it alone and only use it as a Time Machine backup.
Configuring a Time Machine backup with a second hard drive is simple. The greatest effort it takes is purchasing the drive and plugging it in. But using an external drive won’t protect you from a cataclysmic event – a massive power surge, fire or flood
The problem with using Time Machine with a tethered USB drive is that it can only make a backup if the drive is attached. With a desktop Mac, like an iMac or Mac mini, this isn’t really a problem. And if you have a Mac Pro you can install a spare drive into one of the four internal slots.
However, if you have a MacBook Pro or MacBook Air, then you might want to invest in an Apple Time Capsule. This wireless router comes with a hard drive installed that can be used to wirelessly create a Time Machine Backup.
It also comes with two incredibly good Wi-Fi antennas (one for 2.4Ghz and one for 5GHz networks) and a raft of features. You attach it to the router supplied by your ISP, and it’s undoubtedly better than the router you own.
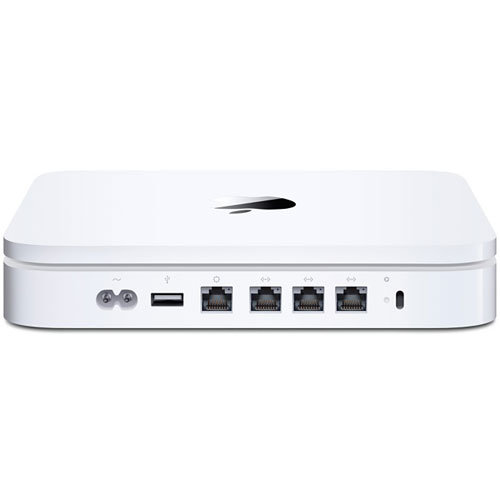
Like your WiFi router, the Time Capsule creates a wireless network, but doesn’t have its own built-in ADSL (Asymmetrical Digital Connection Line) so you will typically have to connect it to your current network.
This is be done by directly connecting the Time Capsule to your broadband modem. Now use AirPort Utility to set up the Time Capsule. You can choose to replace the wireless network, or use the current wireless network and just access the Time Capsule. Typically it’s better to turn off your current WiFi network and use the Time Capsule one instead.
Once the Time Capsule is set up, you should be able to connect to it wirelessly from your MacBook, and can set it up to backup.
You set up the Time Caspule backup via the Time Machine pane in System Preferences. Open System Preferences > Time Machine and click Select Backup Disk.
The Time Capsule volume will appear inside the dialog window. Choose Time Capsule and click Use For Backup. You will need to enter the Time Capsule password you choose during the setup process. Now click Connect.
The very first Time Machine backup can take several hours, and up to a day. It’s not a problem as you can carry on using your Mac. But some people like to connect the MacBook to the Time Capsule using an Ethernet cable for the initial backup. This will make it much faster.
Time Machine and Time Capsule are great options for beginners, but they’re not the most powerful or feature-filled options. Those looking for a more detailed solution could try Retrospect, which enables you to create detailed backups for multiple machines on multiple drives.
Online backup Online backup provides extra protection from on-site disasters. Using an online backup service such as Apple’s own iDisk (while it still exists) or iCloud, Dropbox, or one of the many other commercial online backup services such as CrashPlan you can upload your most precious data to ‘the cloud’.